Chiara VS Water Marble Nails
03:23It 's just like this, girls .. Chiara against water marble .. it's a technique that I love, but I've always been very difficult to achieve .. and perhaps, for the first time, I understood what is the trick: I use demineralized water, pure.. and then I won! ;)

Partiamo dall'inizio.. ho steso una base e messo lo smalto bianco sulle 2 unghie centrali, una sola passata..
Let's start from the beginning .. I put a base coat and then a white nail polish, a single caot ..

Applichiamo lo scotch intorno alle 2 unghie, per far in modo che non si macchino, e prepariamo la nostra bacinella d'acqua. Versiamo in successione lo smalto fucsia, lo smalto viola e quello azzurro, fino a quando abbiamo un bel po' di cerchi concentrici! Ora con uno stecchino tiriamo delle righe dall'esterno del cerchio verso l'interno, come vedete qui..
We apply the scotch around the two nails, to make sure that you don't have a nail polish on your cuticles, and prepare pure water bowl. Pour, in succession, fuchsia, purple and the blue nail polishes, until we have a nice little concentric circles! Now with a toothpick we make lines from the outside to the inside of the circle, as you see here ..

Immergiamo il dito posizionandolo in modo da ottenere il risultato desiderato, portiamo via l'eccesso di smalto, tiriamo fuori il dito e ripetiamo dall'altra parte.. Quello che otterremo sarà...
We soak the finger positioning in order to achieve the desired result, we take away the excess polish, pull out your finger and repeat on the other side .. What you will get is...

Ok, con la marble siamo apposto, ora passiamo alle altre dita.. Anche qui mettiamo lo smalto bianco dopo la base, una sola passata, ed una volta asciutto passiamo alla tecnica del gradient, con la spugna.. Disponiamo gli smalti come vedete qui sotto e trasferiamo i colori sull'unghia, in una da un verso e nell'altra nel verso opposto.
Ok, end with marble, now move on to the other fingers .. Here we put white nail polish base after base caot, a single pass, and we pass to the technique of gradient, with the sponge .. We glazes nail polishes as you can see here below and we transfer the colors on the nail, in one with a direction and in the other in the opposite direction.

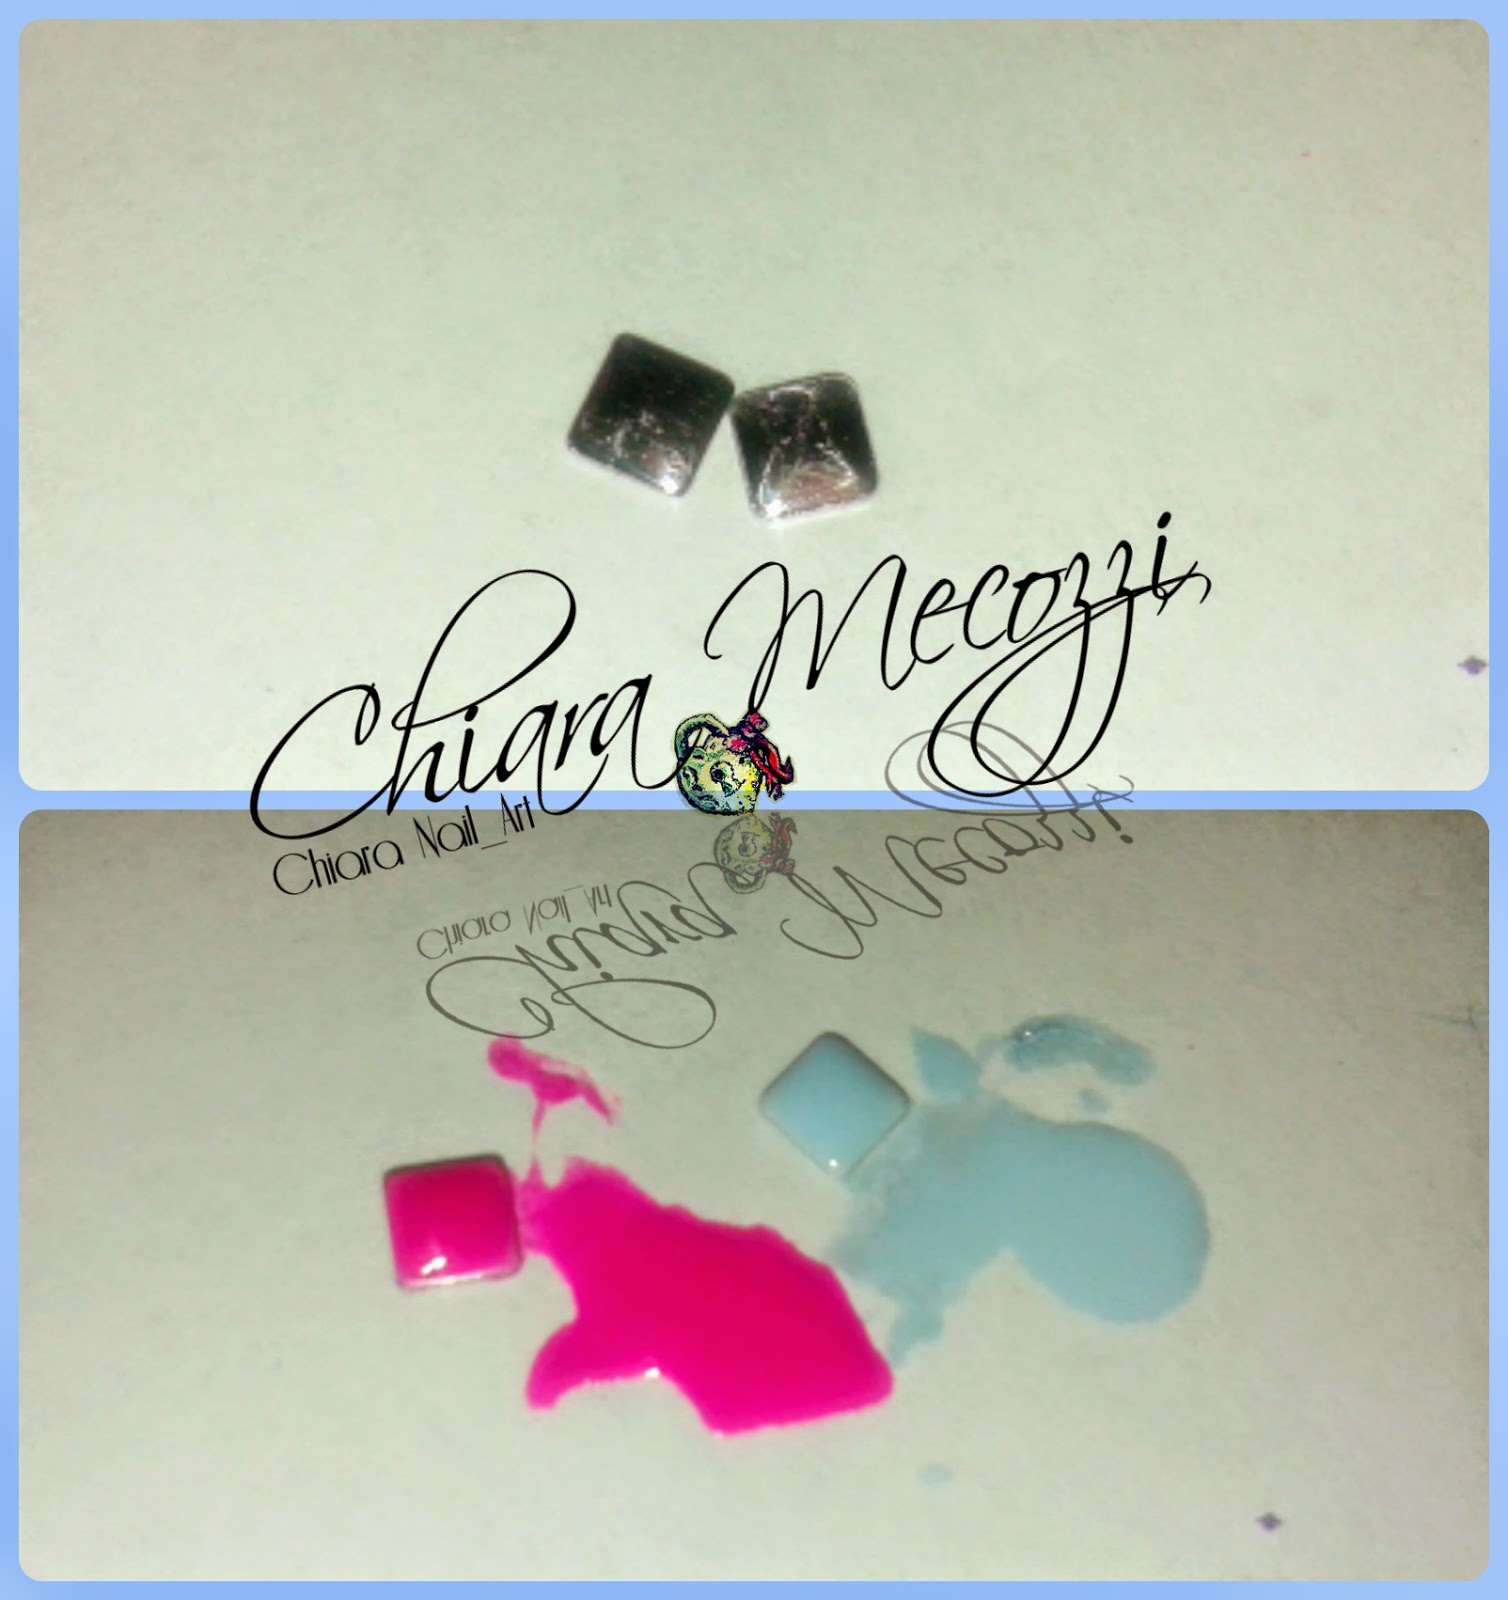
Ultimiamo con delle borchiette...che coloreremo! Prendete le vostre 2 borchiette e spennellatele con gli smalti, una in rosa ed una in azzurro.. Posizioneremo quella fucsia sulla parte azzurra e quella azzurra sulla parte fucsia sfumata. E per finire strass cangianti per decorare le unghie con la water marble..
We end with studs ... that we'll color! Take your 2 studs and brush them with nail polishes, one in pink and one in blue .. will position pink stud on the blue side and blue stud on the pink side. And finally iridescent rhinestones to decorate your nails with water marble ..
La cosa particolare della nail art?? Che il fucsia è uno smalto Ruby Wing per cui cambia colore al sole, diventa rosso.. ecco il risultato:
What it's special in this nail art? That fuchsia nail polish is a Ruby Wing for which it in the sun turns red .. here's the result:

Ed ecco la nail art al sole e all'ombra.. quale preferite? Io non saprei scegliere.. Grazie per aver letto il post e alla prossima nail art
Smack!
And here's nail art in the sun and in the shade .. which do you prefer? I don't know how to choose.. Thank you for reading my post and we see to the next nail art
Smack!

XOXO
Chiara


4 commenti
è una watrermarble troppo bella <3 <3 <3
RispondiEliminaGrazie mille... <33333
EliminaSei bravissima *_*
RispondiEliminaGrazie mille <3
Elimina